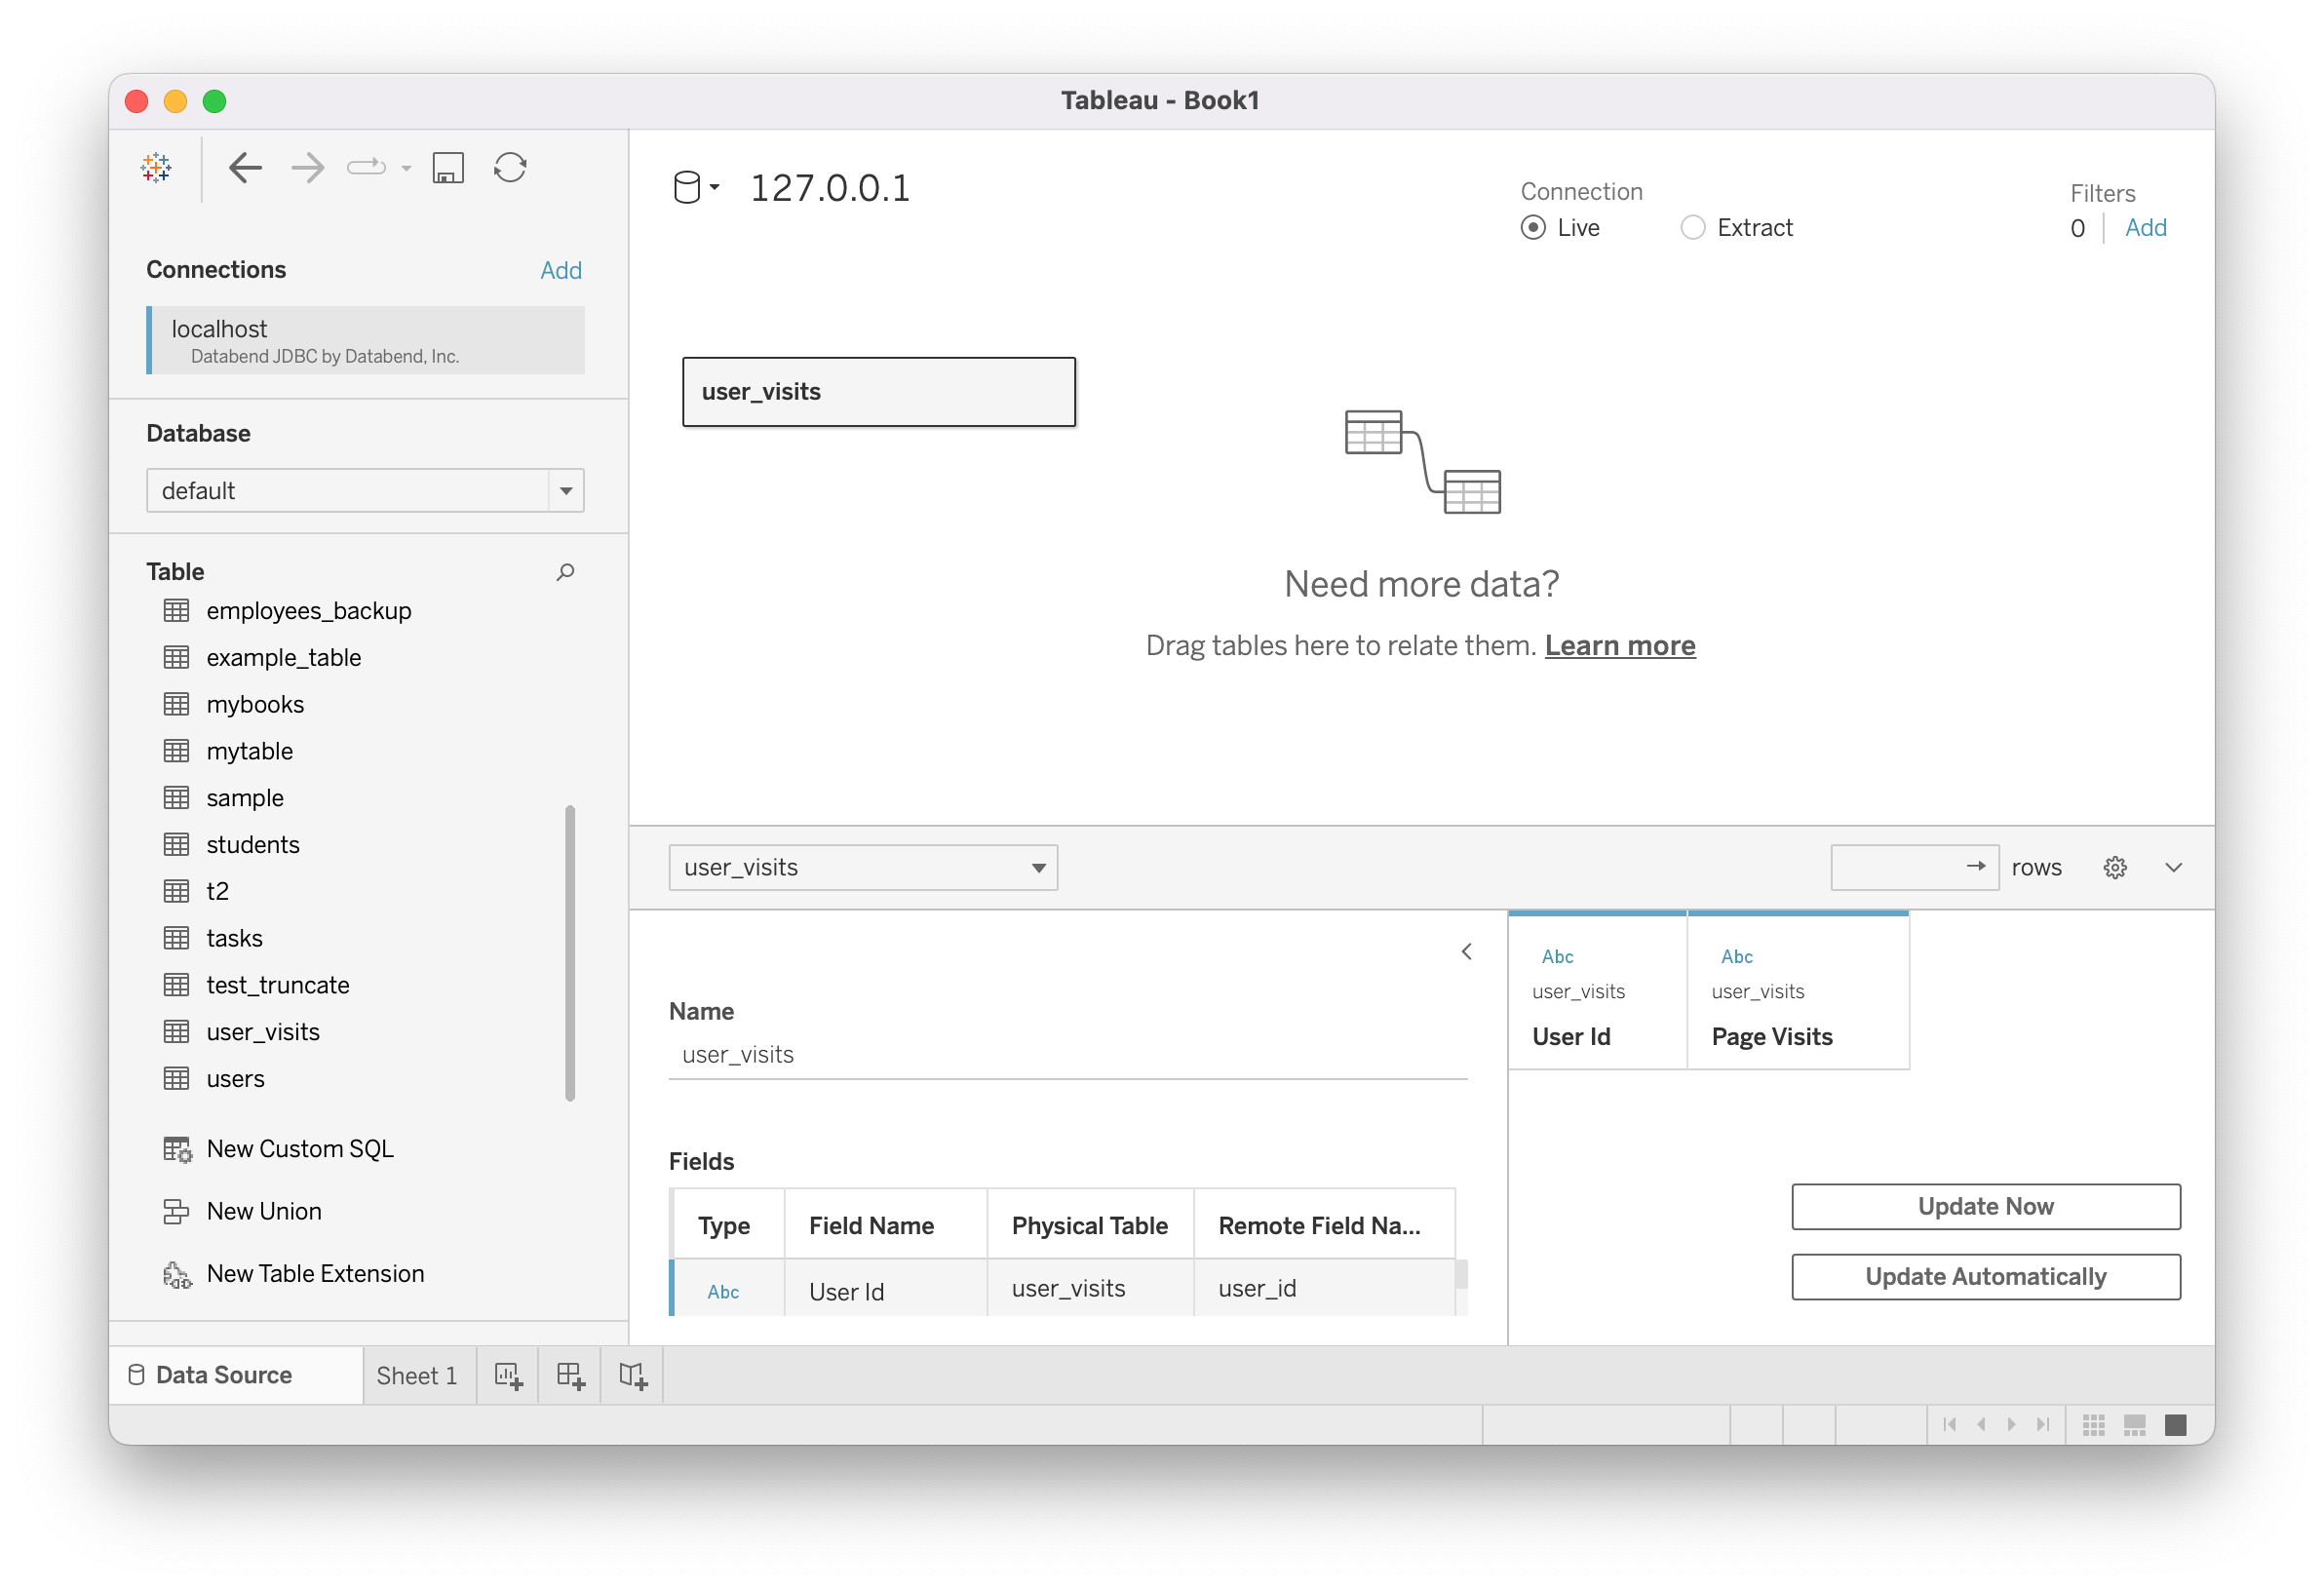
Tableau
Databend currently offers two methods for integrating with Tableau. The first approach involves using the Other Databases (JDBC) interface available in Tableau. The second method is to install the
The databend-tableau-connector-jdbc connector offers faster performance through its JDBC driver, especially when creating Extracts, and is easier to install as a cross-platform jar file, eliminating platform-specific compilations. It allows you to fine-tune SQL queries for standard Tableau functionality, including multiple JOINS and working with Sets, and provides a user-friendly connection dialog for a seamless integration experience.
In the following tutorials, you will find detailed, step-by-step guides on deploying and integrating Tableau Desktop with Databend.
Tutorial-1: Integrate with Other Databases (JDBC) Interface
In this tutorial, you'll deploy and integrate a local Databend with
Step 1. Deploy Databend
- Follow the Local and Docker Deployments guide to deploy a local Databend.
- Create a SQL user in Databend. You will use this account to connect to Databend in Tableau Desktop.
CREATE USER tableau IDENTIFIED BY 'tableau';
GRANT ALL ON *.* TO tableau;
Step 2. Install databend-jdbc
Download the databend-jdbc driver (version 0.0.8 or higher) from the Maven Central Repository at
Open in the new tabTo install the databend-jdbc driver, move the jar file (for example, databend-jdbc-0.0.8.jar) to Tableau's driver folder. Tableau's driver folder varies depending on the operating system:
| Operating System | Tableau's Driver Folder |
|---|---|
| MacOS | ~/Library/Tableau/Drivers |
| Windows | C:\Program Files\Tableau\Drivers |
Step 3. Connect to Databend
- Launch Tableau Desktop and select Other Database (JDBC) in the sidebar. This opens a window as follows:
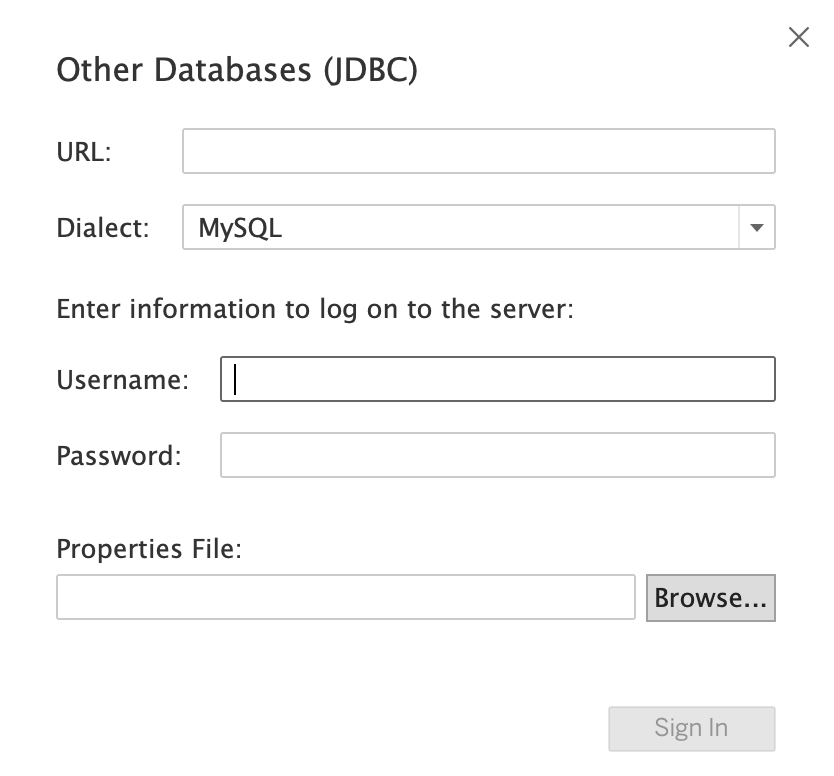
- In the window that opens, provide the connection information and click Sign In.
| Parameter | Description | For This Tutorial |
|---|---|---|
| URL | Format: jdbc:databend://{user}:{password}@{host}:{port}/{database} | jdbc:databend://tableau:tableau@127.0.0.1:8000/default |
| Dialect | Select "MySQL" for SQL dialect. | MySQL |
| Username | SQL user for connecting to Databend | tableau |
| Password | SQL user for connecting to Databend | tableau |
- When the Tableau workbook opens, select the database, schema, and tables that you want to query. For this tutorial, select default for both Database and Schema.
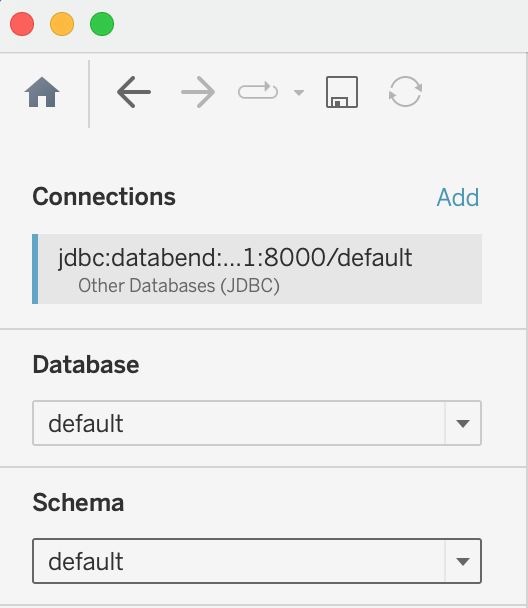
You're all set! You can now drag tables to the work area to start your query and further analysis.
Tutorial-2: Integrate with databend-tableau-connector-jdbc Connector
In this tutorial, you'll deploy and integrate a local Databend with
Step 1. Deploy Databend
- Follow the Local and Docker Deployments guide to deploy a local Databend.
- Create a SQL user in Databend. You will use this account to connect to Databend in Tableau Desktop.
CREATE USER tableau IDENTIFIED BY 'tableau';
GRANT ALL ON *.* TO tableau;
Step 2. Install databend-jdbc
Download the databend-jdbc driver (version 0.0.8 or higher) from the Maven Central Repository at
Open in the new tabTo install the databend-jdbc driver, move the jar file (for example, databend-jdbc-0.0.8.jar) to Tableau's driver folder. Tableau's driver folder varies depending on the operating system:
| Operating System | Tableau's Driver Folder |
|---|---|
| MacOS | ~/Library/Tableau/Drivers |
| Windows | C:\Program Files\Tableau\Drivers |
Step 3. Install databend-tableau-connector-jdbc Connector
- Download the latest databend_jdbc.taco file from the connector's page, and save it to the Tableau's connector folder:Open in the new tab
| Operating System | Tableau's Connector Folder |
|---|---|
| MacOS | ~/Documents/My Tableau Repository/Connectors |
| Windows | C:\Users[Windows User]\Documents\My Tableau Repository\Connectors |
- Start Tableau Desktop with signature verification disabled. If you are on macOS, open Terminal and enter the following command:
/Applications/Tableau\ Desktop\ 2023.2.app/Contents/MacOS/Tableau -DDisableVerifyConnectorPluginSignature=true
Step 4. Connect to Databend
- In Tableau Desktop, select Databend JDBC by Databend, Inc. on To a Server > More....
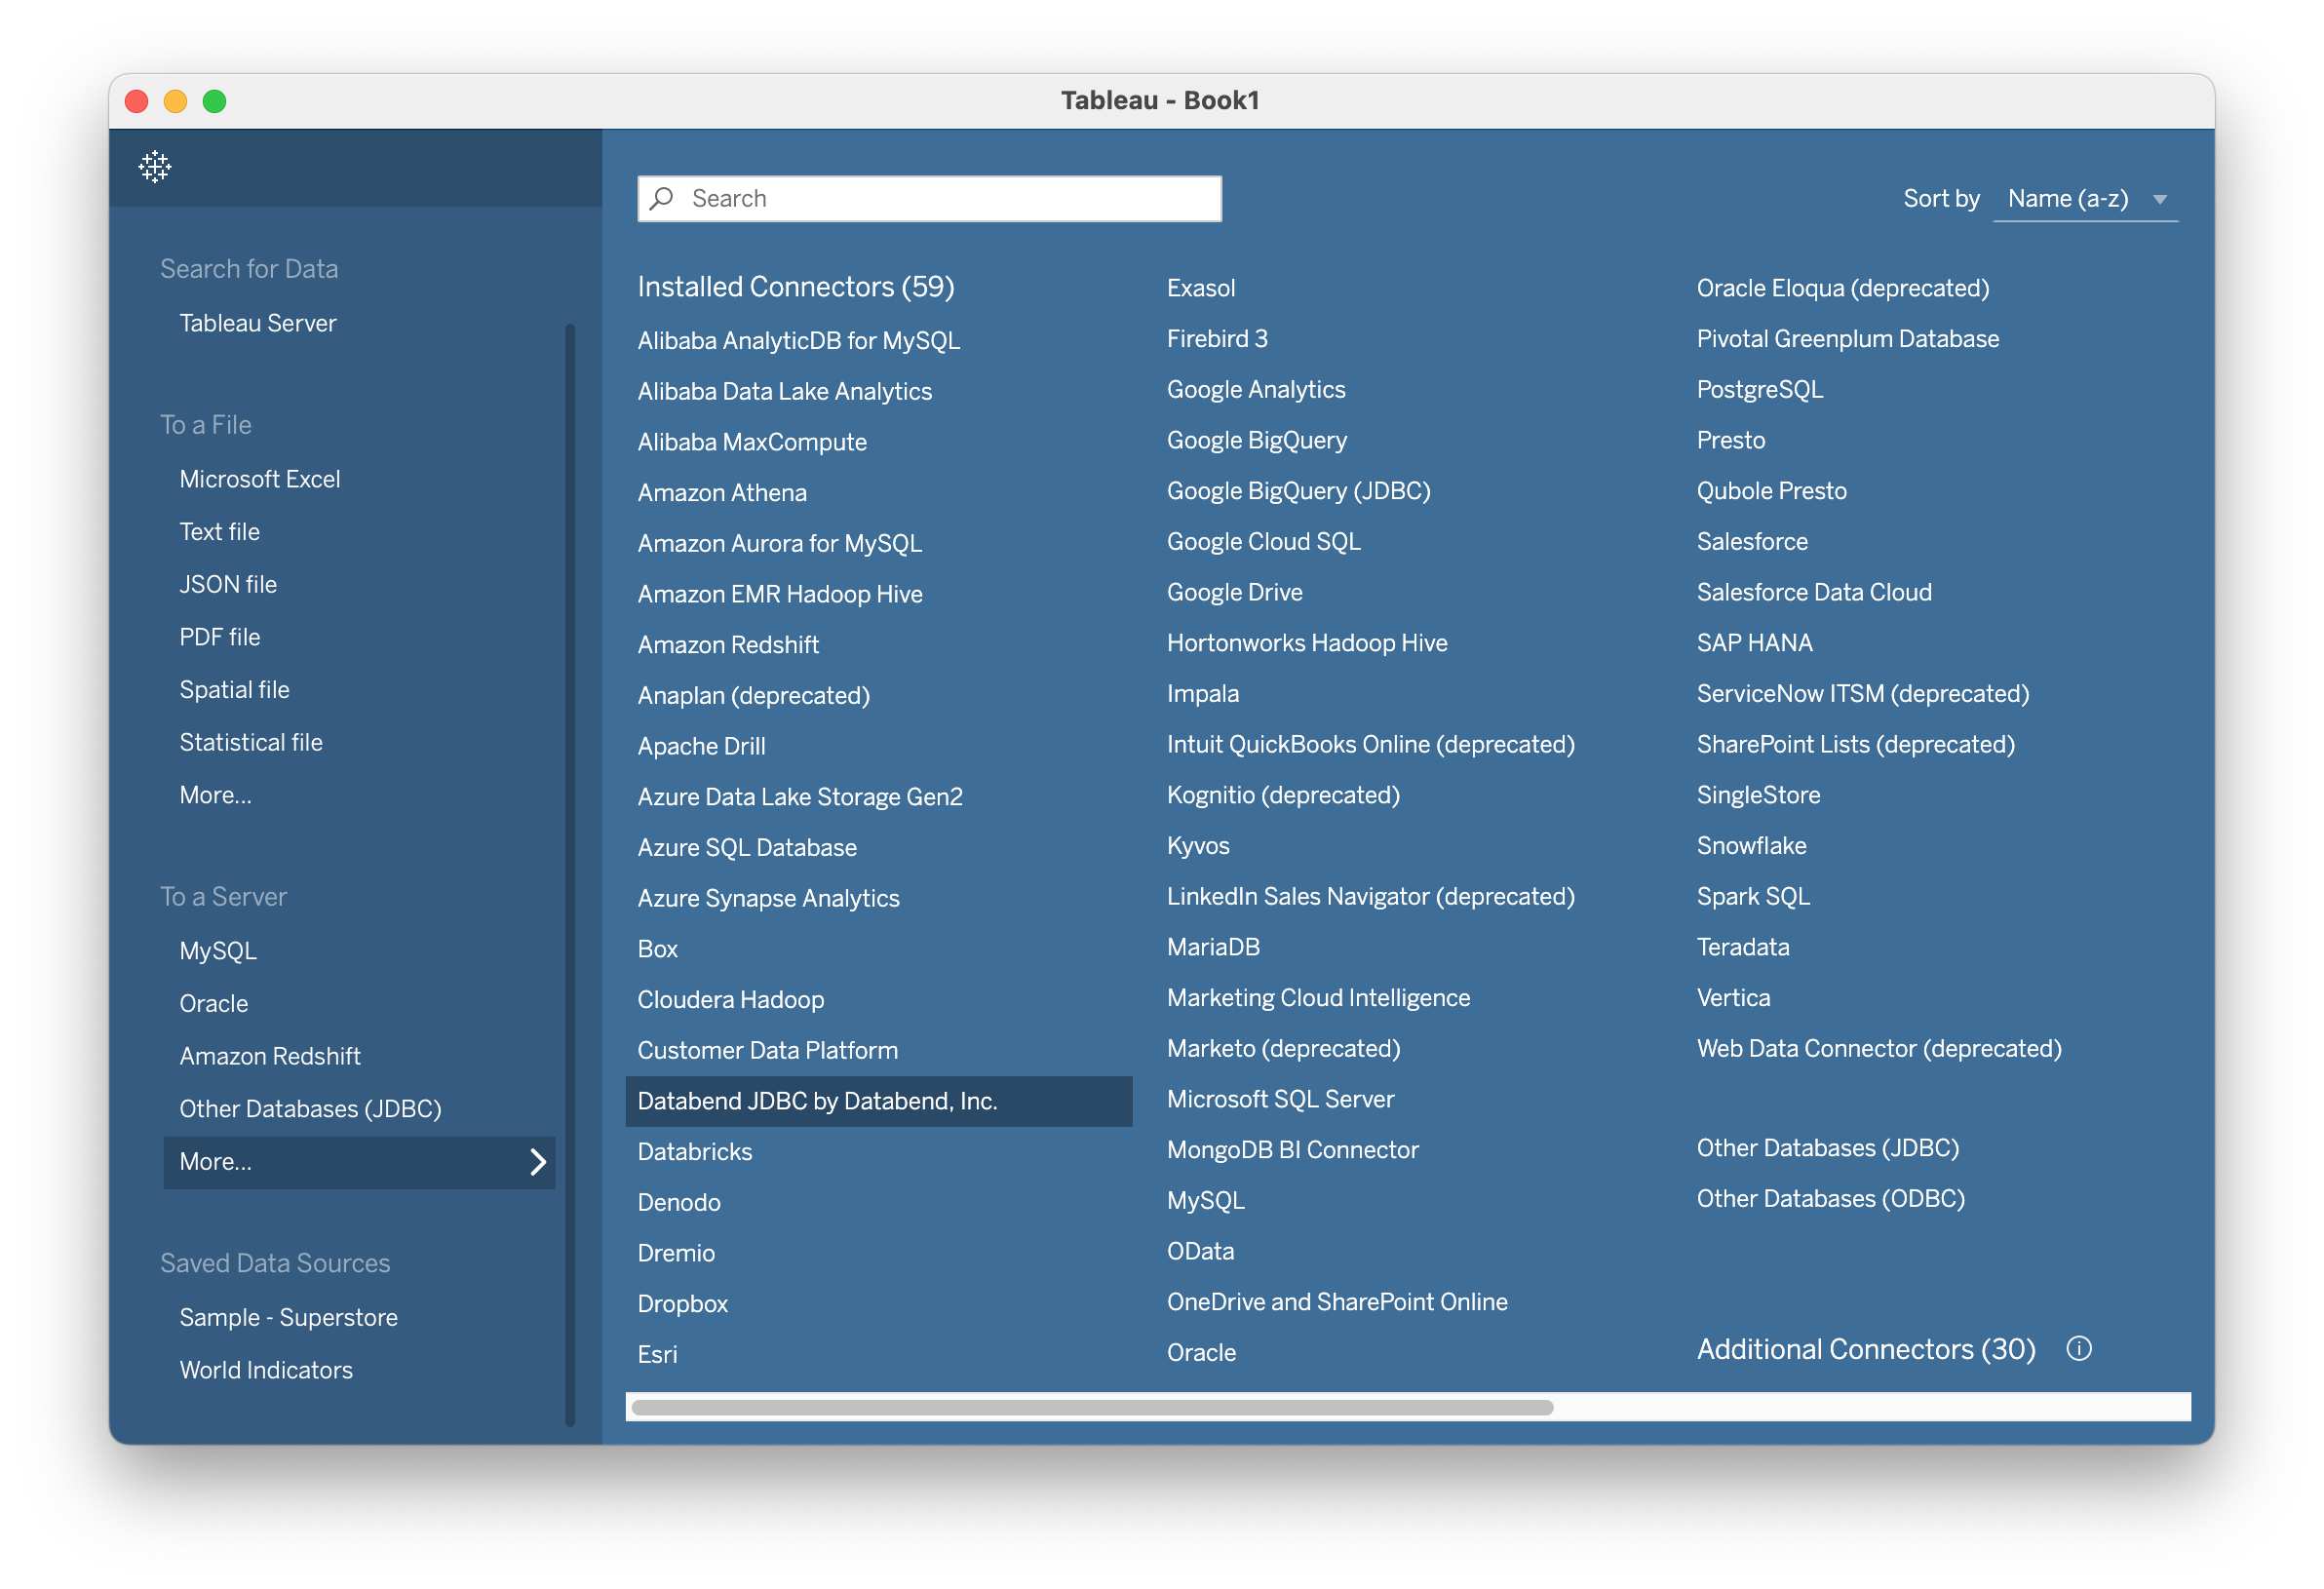
- In the window that opens, provide the connection information and click Sign In.
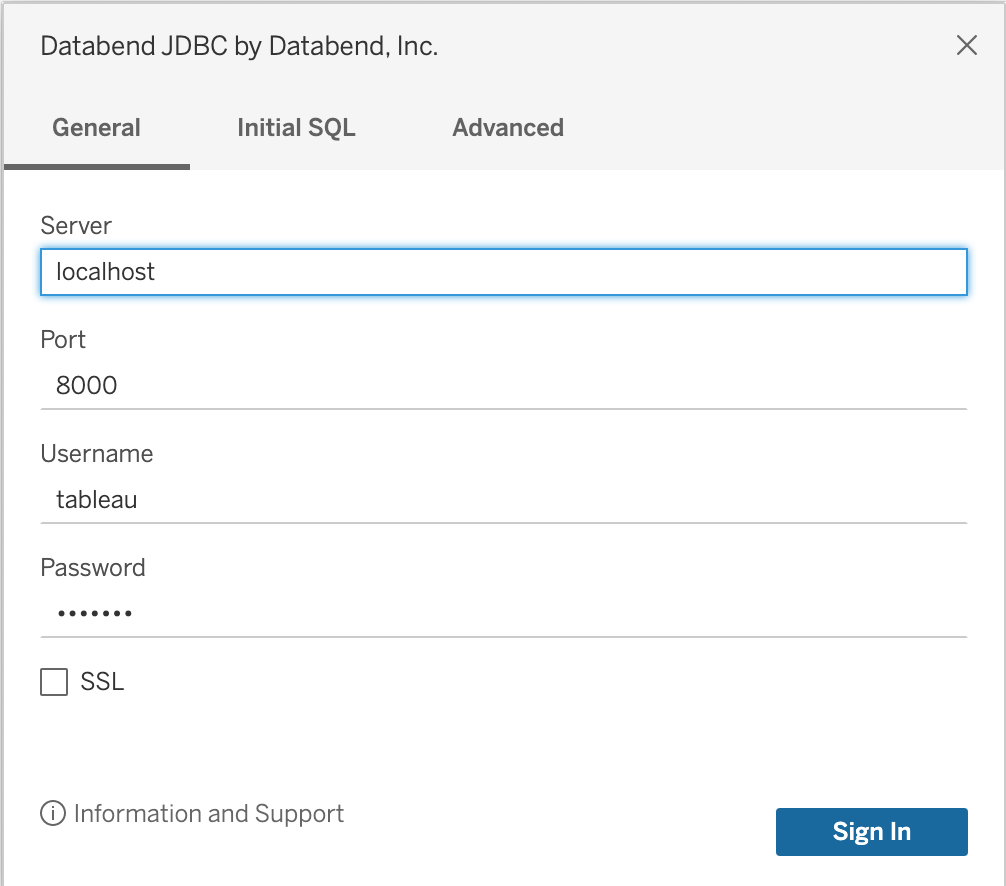
- Select a database, then you can drag tables to the work area to start your query and further analysis.
